Once you have defined the columns of your datafile in the Definitions tab, additional tabs will become available, namely;
- File sources
- Rules on import
- Data view
- Log
We will first of all continue with File Sources. In this tab you are able to connect one or more import sources, one being the manual import.
A manual import is executed with an Excel (xlsx) or a CSV file. Let’s get started with step by step:
Click the 'Add source' button to start:

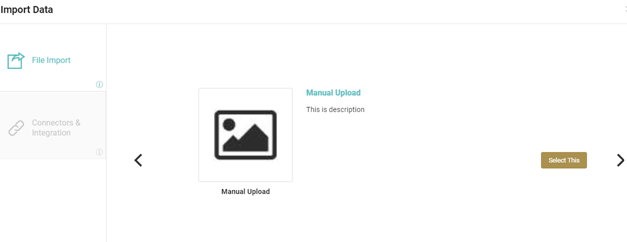
The carrousel with different import options will appear. On the left side, choose File import, and in the main window on the right, click 'Manual upload'.
An upload field will appear, where you can either drag&drop your datafile, or just click the grey area to open your Explorer menu to select the file on your computer.
In the below example, the source is shown on the left side, where the 'Add source' button remains available at the top to add additional sources.

One a file is selected, you will get a confirmation message that your import is being processed.
After a successfull import, you will be able to review the imported data under the Dataview tab.

In addition, you will find a confirmation message of the import under the Log tab.
When an error has occurred, your dataview will not be updated and you can review a detailed error message in this Log tab to find out what is causing the error.
Always be sure to use a file format that is consistent with your definitions tab: the same headers must be present in the file for the upload to be accepted.