The Media Library gives you the opportunity to manage all media files that are part of your project(s) and can be found in the side bar menu by clicking the Management button.
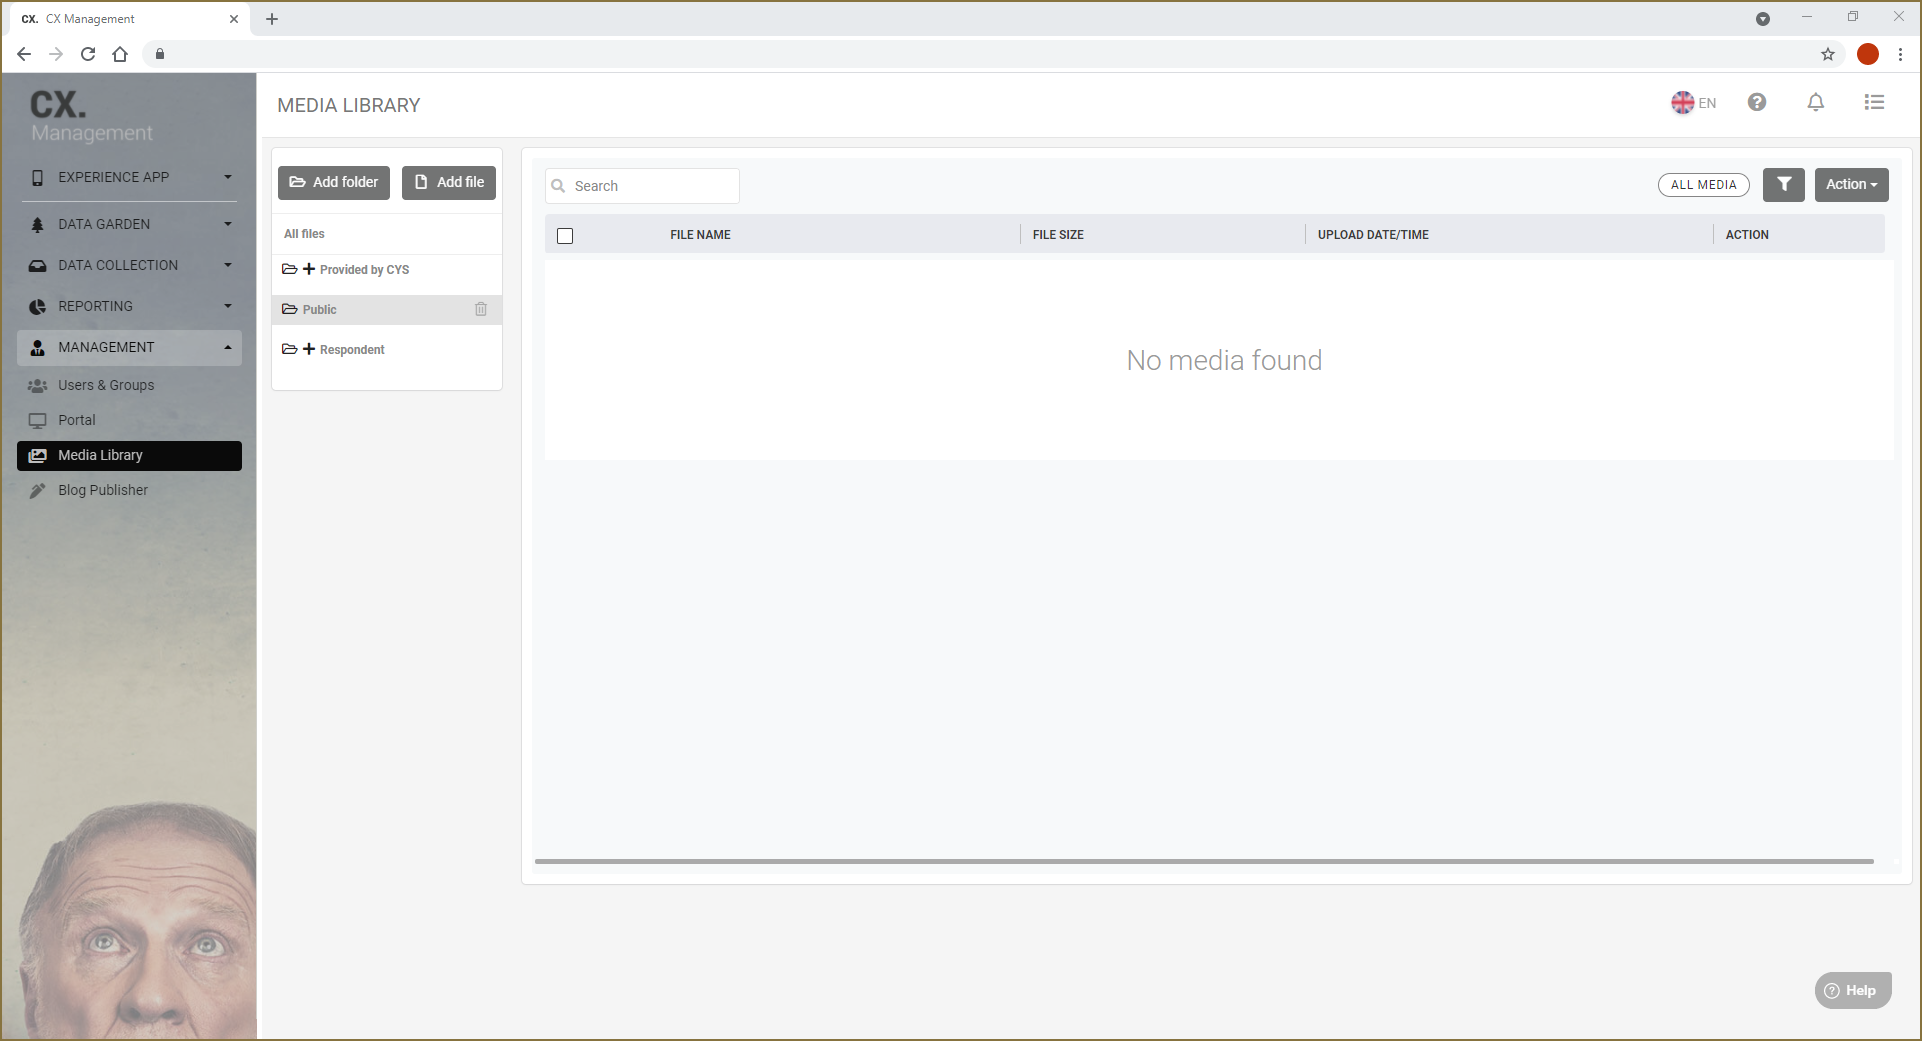
Table of contents:
General
If you click All files, you will get an overview of all files present your Media Library, regardless of whether they are uploaded to a specific folder or not.
When clicking a folder, the files in that folder will be loaded in the overview part of the screen.
If you see a plus (+) mark between title and the folder icon it means that the folder has one or more sub-folders.
When you open the Media Library for the first time you see there already three folders present in the folder tree; Provided by CYS, Public and Respondent. We will describe each folder below.
Provided by CYS
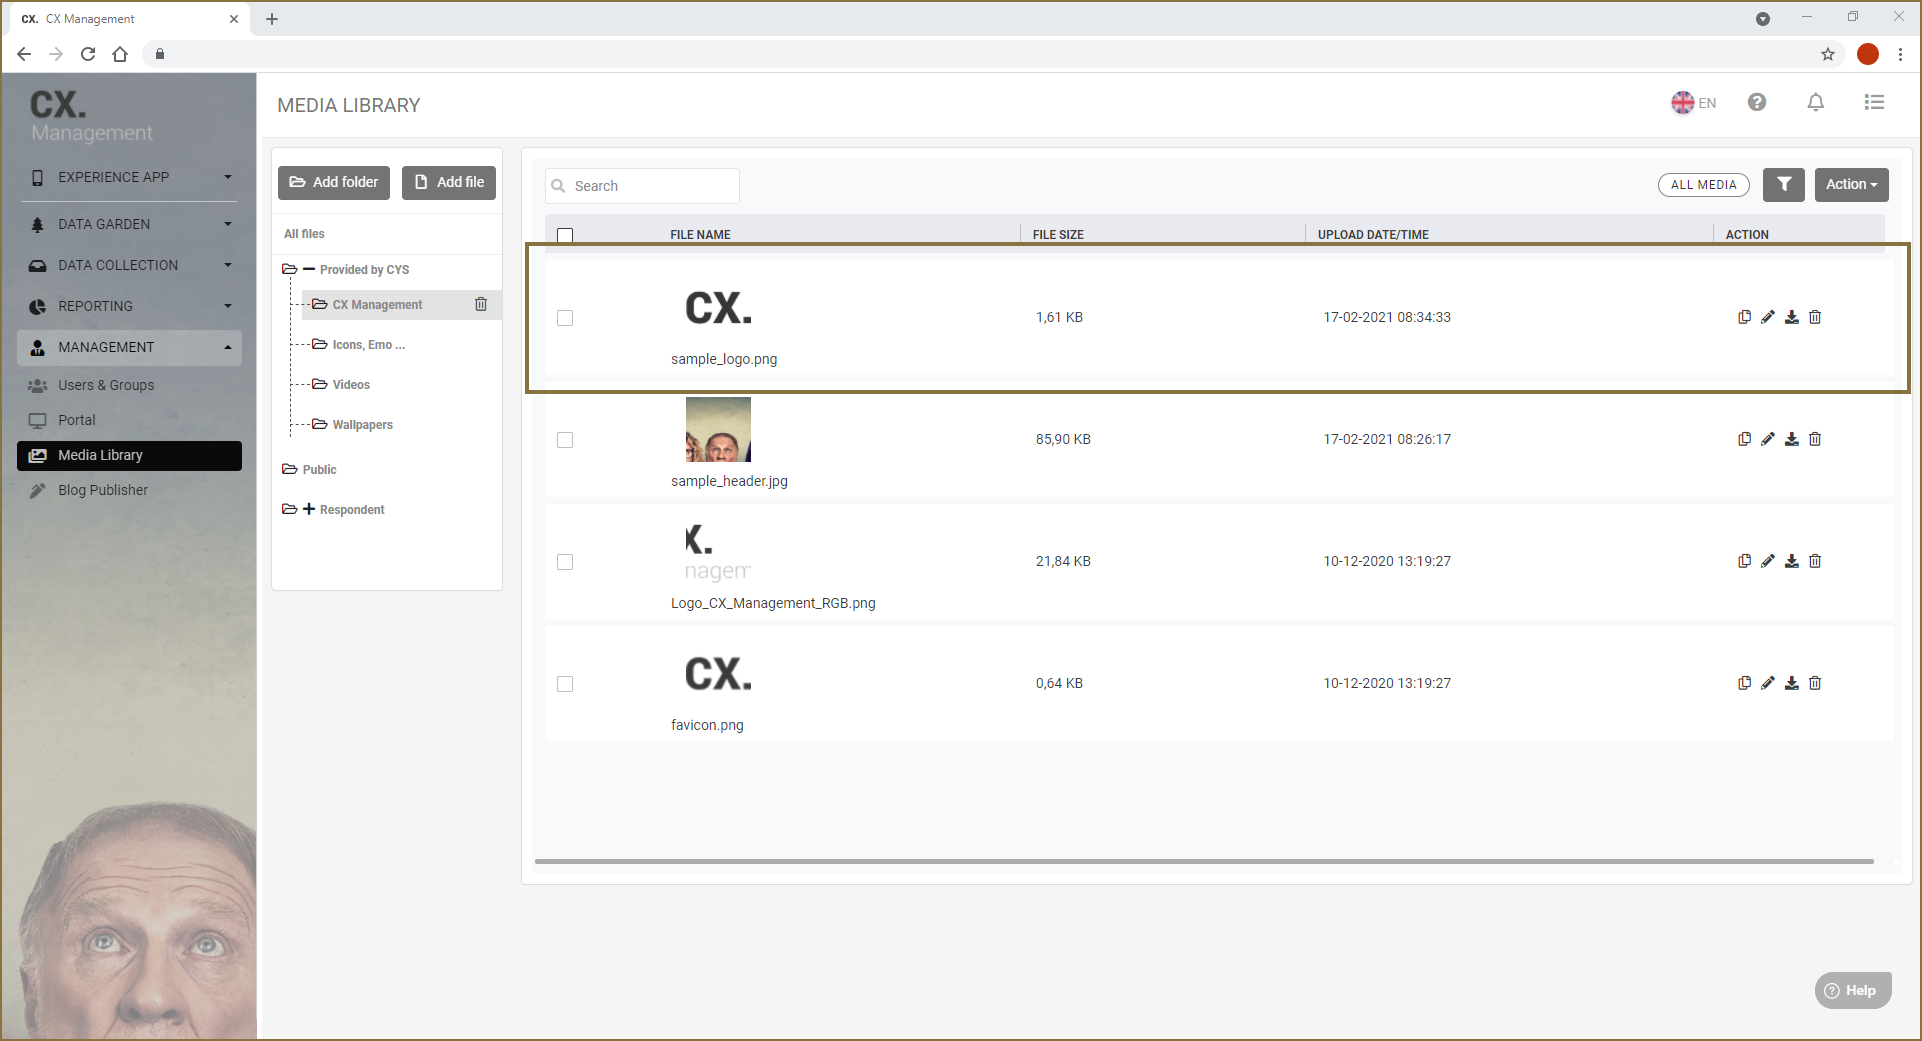
The first folder in the Media Library is the Provided by CYS folder. If you click the plus mark, you will see several sub-folders which contain various files you can use in your project(s).
Public
The second folder in the Media Library is the Public folder. When you open the Media Library it always opens on this folder.
If a file is uploaded to the public folder, it can be shared or used outside the project. We recommend uploading media files here you want to use for your invites, like logos and banners. Files that are not placed in the public folder can only be used in the project itself. For example, images you want to use in your questionnaire or dashboards.
The Public folder cannot be deleted.
Respondent
The last folder already present when you open the Media Library is the Respondent folder. If you have created a project in which you ask your respondent to upload a file they will be uploaded to this folder. The system will automatically create a sub-folder with the name of your project when the first file is uploaded. All subsequent files that are uploaded by respondents in this project will be added to this folder also.
The Respondent folder can be deleted, but we recommend keeping the folder even if you don’t use at the moment.

Adding a folder
To keep everything organized, you can manage your media library by adding your own folders.
- First click the folder where you want to add your folder. If you have the All files option selected when adding a folder, the folder will be created in the root of your Media Library.
- Click the Add folder button that sits at the top of your folder tree.
- A pop-up window will appear in which you can enter the folder name.
- Click the Add button and your folder will be created. You will get a notification when the folder is created. If the folder is not immediately visible after creation you need to reload your screen. This happens when you add a sub-folder to an empty folder.
We recommend keeping the folder names short and to the point.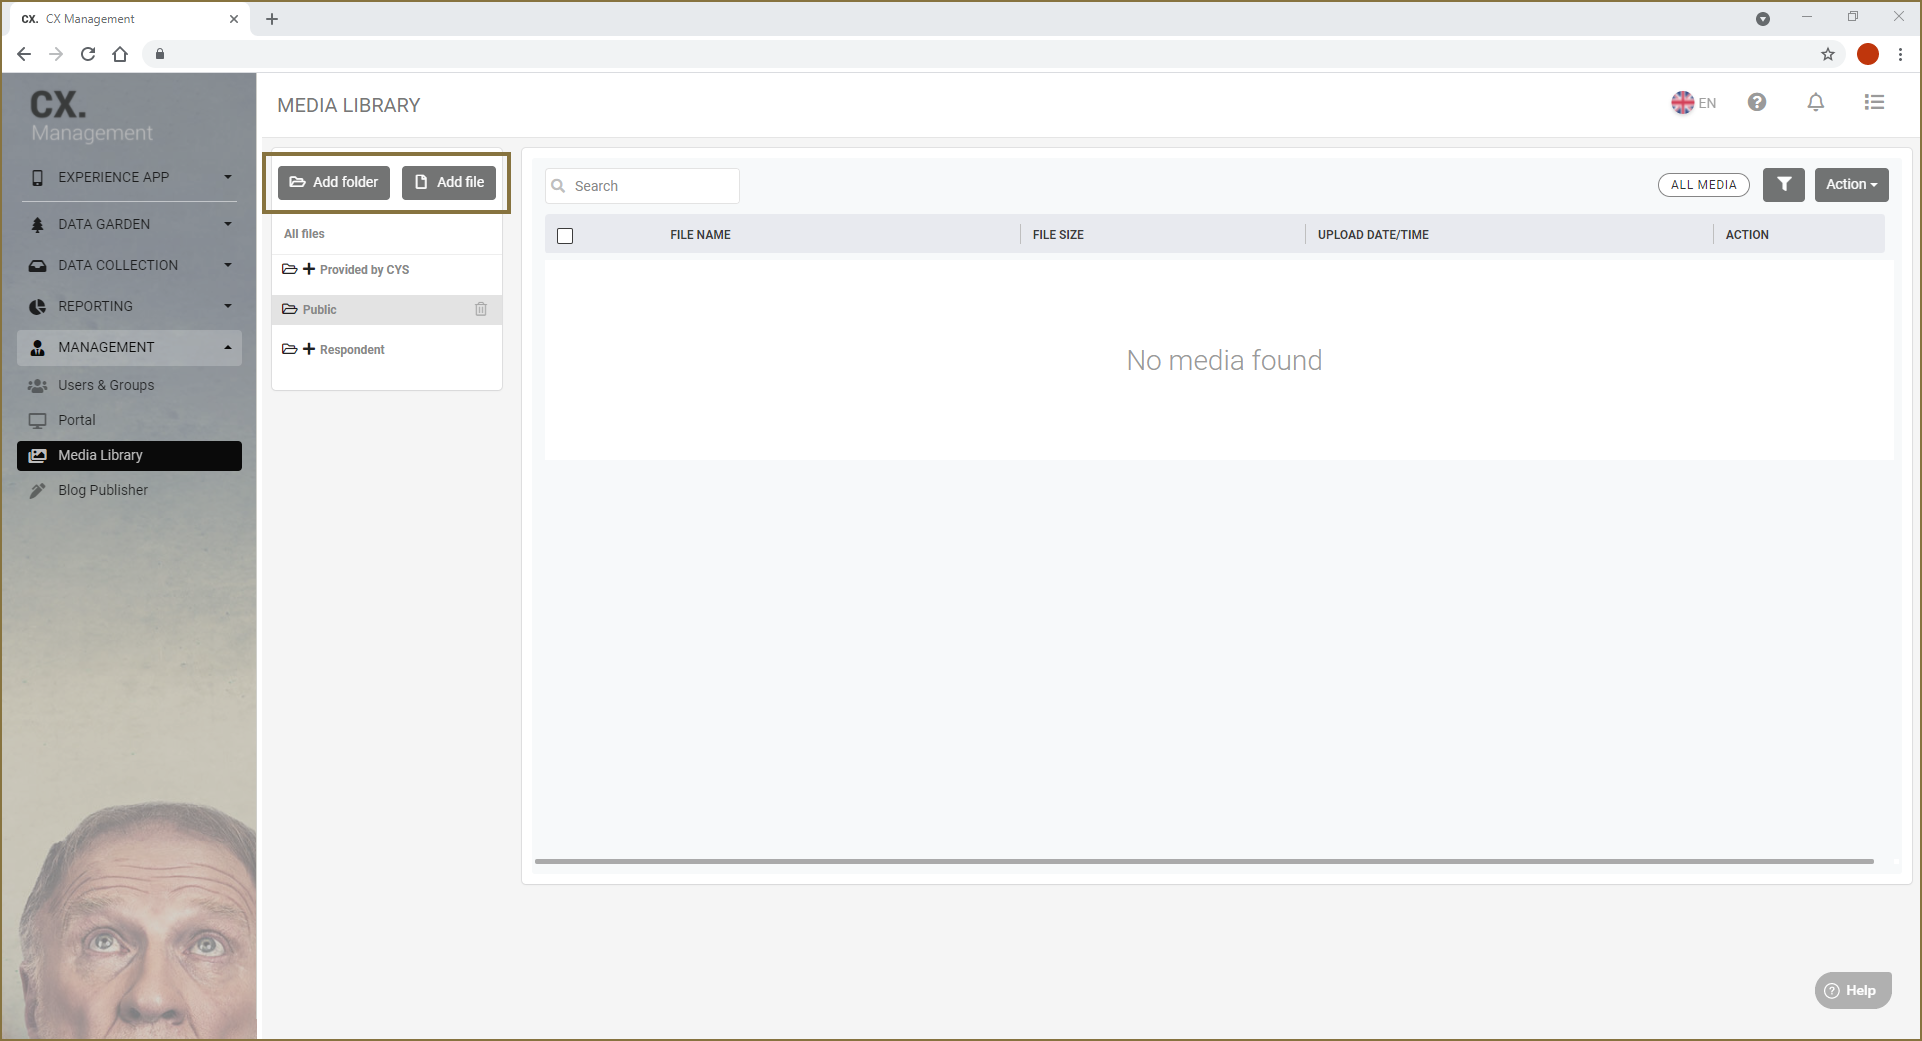
Deleting a folder
- If you select a folder in the folder tree your selection will be highlighted. It will also show a trash can icon next to the folder name. When you hover the icon, it will show you the text Delete folder.
- When you click the trash can icon a pop-up notification will appear with a warning.
- Click Yes if you want to delete the folder.
- Another pop-up notification will appear warning you that the folder content will also be deleted. Clicking Yes will delete the folder and all its content. If you are not sure you can click No and it will cancel the deletion action.
Adding media files
- First click the folder where you want to add your media file(s). If you have the All files option selected when adding your files, they will be uploaded to the root of your Media Library.
- Click the Add file button that sits at the top of your folder tree.
- A pop-up window will be opened.
- Click the highlighted area and the File Explorer of your computer will be opened.
- Select the files you want to upload to your portal and click Open to add them. You can select and upload multiple files in one go.
- You will get a notification for each file that has been added to your portal.
We recommend keeping the file names short and to the point.
Deleting media files
- If you want to delete a single file from your Media Library look up the file in your overview and click the trash can icon in the Action column of the file.
- When you click the trash can icon a pop-up notification will appear with a warning.
- Click Yes to delete the file.
- If you want to delete multiple files in one go from your Media Library, you select them by clicking the checkbox next to the file names. Clicking the checkbox next to the column labels will select all files in the folder.
- When you have selected all the files you want to delete, click the Action button and select the Delete option to delete the files. The Action button can be found at the top right of the file overview.
- When you select the Delete option a pop-up notification will appear with a warning.
- Click Yes to delete the files. This will take a couple of seconds, depending on the number of files you want to delete.
- When the files have been deleted another notification will pop-up confirming its deletion.
- Click OK to close the notification.
Managing media files
At the moment you cannot drag files from one folder to another folder. If you want to put files in a different folder you must download them first to your computer and upload them to the other folder.
In the Media Library overview there are four columns visible: File Name, File Size, Upload Date/Time and Action. Clicking the labels of the first three columns will sort the files based on the values in that column.
If you are searching for a specific file in your Media Library but you have difficulty finding it, you can give in a search term in the search bar at the top left of the file overview. We recommend you have the All files option selected in the folder tree when doing your search.
You also have the option to add a filter to the folder which you are viewing. The Filter button can be found at the top right of the file overview.

The Action column of each file contains four icons.
| Clicking the first icon will copy a file link to the cache of your computer. You can paste the link anywhere you want. If you want the file to be accessible from outside your portal, make sure that the file is added to the Public folder. |
| When you click the second icon a pop-up window will appear with which you can upload an updated version of the file without changing the link to that file. |
| Clicking the third icon will let you download the file to your computer. |
| When you click the fourth icon a pop-up notification will appear which lets you delete the file from the Media Library. |