When setting up the Email scheduler for a Personal invitation the default expiration date of the personal link is set to 30 days after the original invite is sent out. This means that, when a respondent clicks their personal invite link after 30 days, the Time Elapsed Page of the questionnaire will be loaded instead of the Start page. Because of this, the respondent will not be able to complete the questionnaire. The expiration date can be set to whatever number of days you want it to be, but it must be done in advance, before invites are sent out.
When invites are sent out, several system variables will be updated in the database of your project. For instance, you can see when your invite was sent out and by which scheduler. You can easily recognize the system variable columns in your database because they all have the prefix sys_.
The expiration date of the personal links can be found in the sys_personalLinkExpiryDate column of your project database.

Table of contents:
General
Imagine. You have created the perfect questionnaire, you have sent out personalized invites to your respondents and after a week you sent them a reminder. Now, after almost 30 days your response is still a tiny bit low.
You want to give your respondents one more week to complete the questionnaire and that means you must change the expiration of the personal links.
Below you will find a step-by-step explanation on how to create an Event Based Rule which lets you change the expiration date for specific respondents in your project.
Rule
Start by opening the Database of your project. You can find the database by clicking the Data Garden button in the side bar menu and selecting Database. All databases in your portal will be loaded in the overview next to the side bar.
- Click the Edit Database button of the project you want to edit.
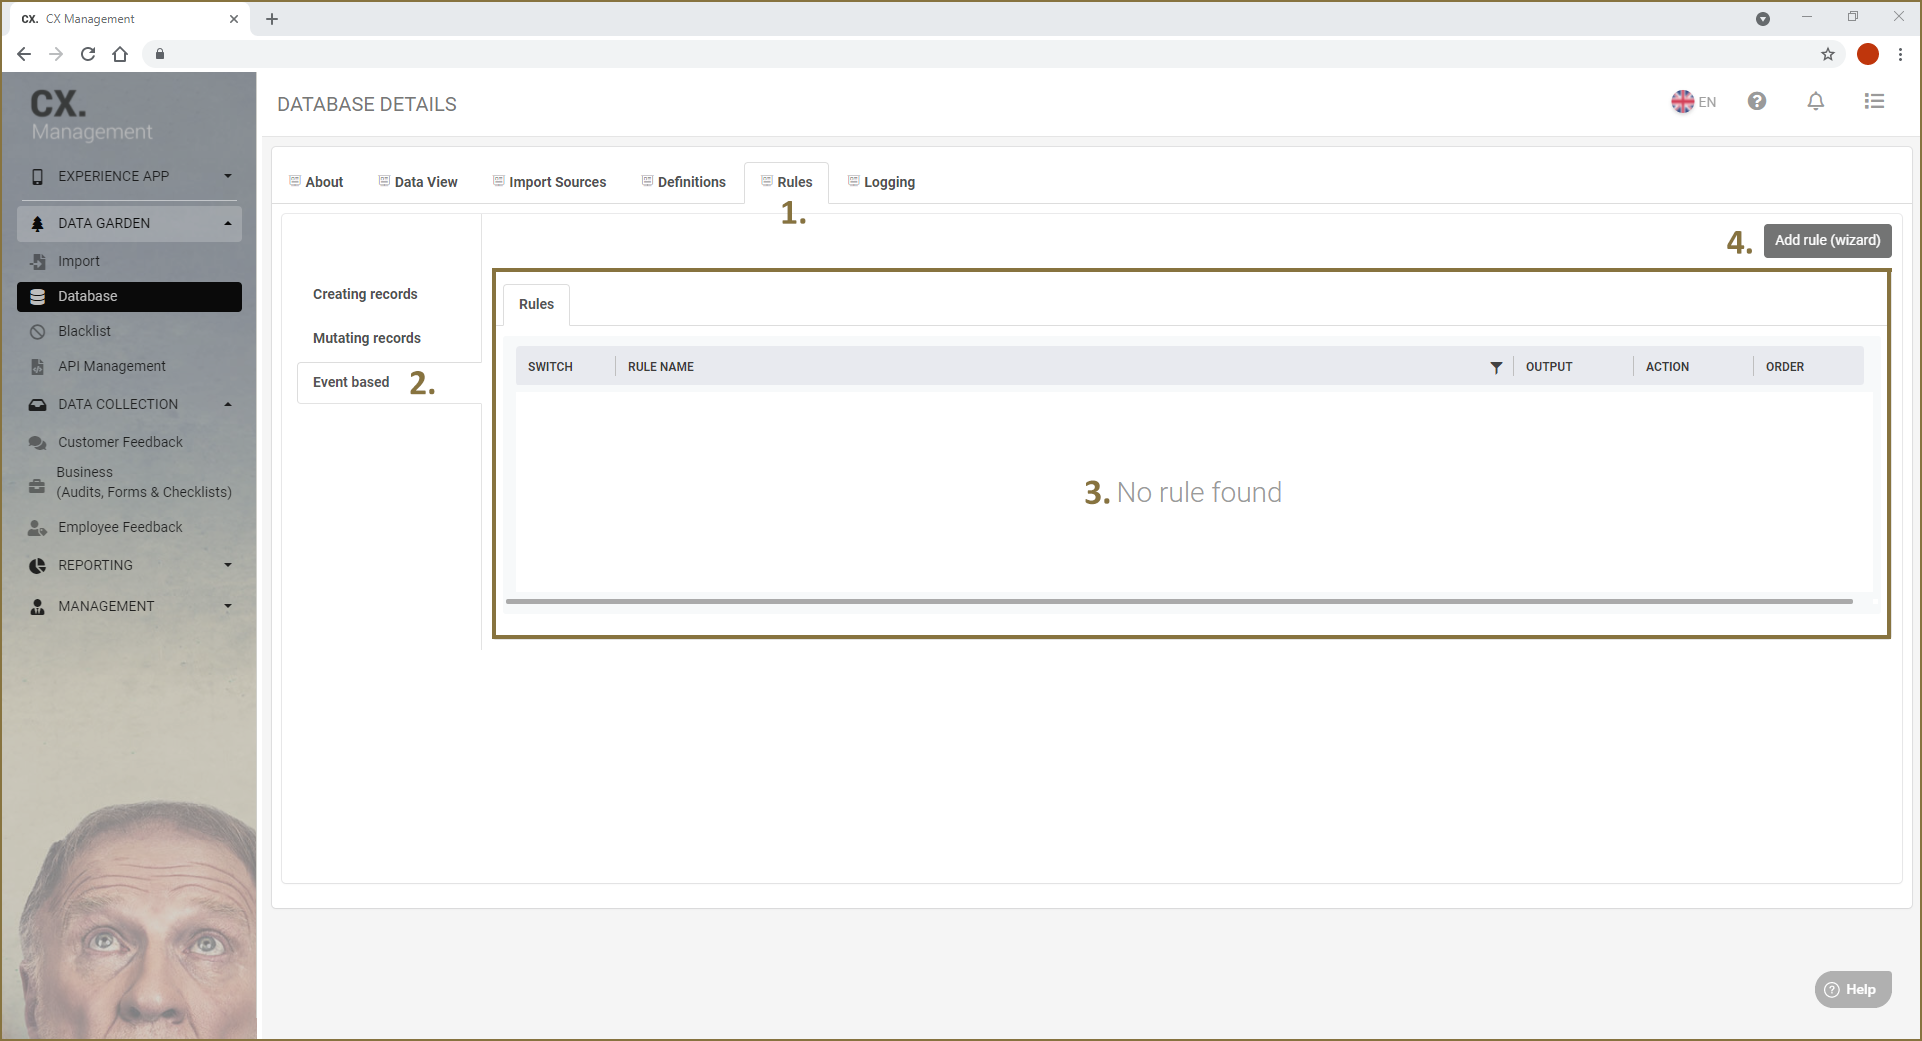
- Click the Rules tab (1) at the top of the screen.
- Click the Event based tab (2) on the left-hand side.
- You will get an overview (3) of all Event based rules that have been created for this database.
- Click on the Add Rule (wizard) button (4) at the top right of the screen.
- A form will appear for you to fill in.
- Give your rule a name, for example Extend_Expiration_Date (5).
- By default, EVENT TYPE has the One time only (6) option selected. Leave this selected.

Conditions
In the Conditions part of the form, we need add some conditions to select only records we want to change the expiry date for. We don’t want to accidently reactivate records we don't want to.
- Select the ALL CONDITIONS option (7) in the CONDITIONS section of the form.
- Click the + icon (8) to create a condition for your rule.
- Click the database icon (9) to load a dropdown field.
- Select the sys_respondentStatus column in the dropdown field (10). You can also start typing the name of the column in the dropdown field and then select it.
- Select IS NOT from the next drop-down field (11).
- Click the 'constant' icon (12) and enter the number 3 in the text field next to it (13). This figure represents the respondent status Completed. We want to adjust all records, except Completes.
The sys_respondentStatus column can have three values: 1 = New, 2 = Active and 3 = Completed
- Click the + icon to add another condition for your rule.
- Click the database icon to load a dropdown field.
- Select the sys_versionState column in the drop-down field.
- Select IS from the next drop-down field.
- Click the 'constant' icon and enter the number 2 in the text field next to it. The number represents the version status Live. We want to adjust all records, except the test records.
The sys_versionState column can have two values: 1 = Test and 2 = Live

In our example above we only target records that are New or Active and are Live records. But you probably also need to add additional conditions. For example, you can target a specific Import Batch (sys_importBatchNumber) or records with a specific CreatedOn date (sys_createdOn). Maybe you only want to give a specific respondent the opportunity to complete your questionnaire (sys_respondentId).
Action
- Click the + icon in the ACTION section of the form.
- Select the Create or change database value option (14) in the dropdown field. A dropdown field appears underneath.
- Select the sys_personalLinkExpiryDate (15) column in the dropdown field.
- Copy and paste following text into the text field below 8-17-2021 23:59:59 (16). Make sure that there are no spaces before or after the date/time.
8-17-2021 23:59:59
The format of the date is as follows: MM-DD-YYYY HH:MM:SS. Don't forget to change the date to the one you want to use for your expiry date.
- Check whether if everything is entered correctly. When you are ready, click on the Save button (17). You will receive a message that the rule has been saved.
- Click the Rules (18) tab to go back to the rule overview.

Activate rule
- In the overview you will see the rule you just created.
- Click the SWITCH slider (19) next to your rule to activate it.
- You must wait a maximum of five minutes for the rule to be executed.
- When the actions in the rule have been processed, the rule deactivates itself.
- Use the Data View tab in your Database to check if the sys_personalLinkExpiryDate column has been updated with the new dates.
