Part of setting up your research is building a questionnaire. The questionnaire can be send to your respondents for customer feedback, your employees for employee feedback or can be used as a tool to monitor your business processes by audits, checklists, and forms.
Table of contents:
General
After you have logged in your portal for the first time you can see all the options in the left menu bar.
Depending what kind of research you want to perform, you can find these under your Data collection tab.
you can select:
Customer Feedback
Business (Audits, Forms & Checklists)
Employee Feedback
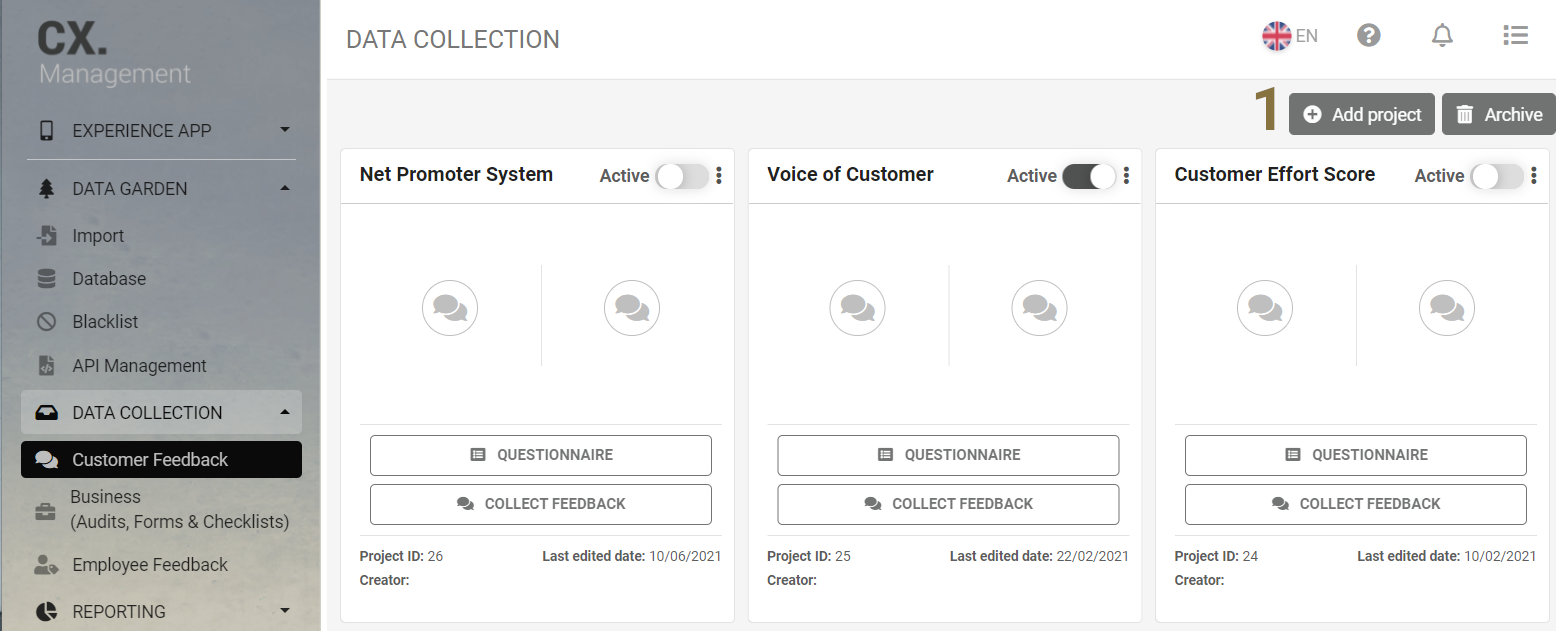
You can manage the project overview page by adding or archiving projects (1).
Your portal comes with standard projects which are the most common used research projects.
You can either use a project already created for you like the voice of customer program or add your own project and create it from scratch.
For more details on creating your own project please read the following section on creating a project.
If you want to use a standard project you skip this section and go to the creating a questionnaire section.
Creating a project
Your portal comes with a lot of standard project you can use and edit to your liking.
But if these standard projects are not the research type you are looking for you can create your own project from scratch.
Standard projects use different methodologies like the customer effort score which is widely used by companies to do customer research.
Follow the next steps to create a new project.
Step 1: Click on the tab Data Collection in your portal.
Step 2: Click on the Customer Feedback, Business (Audits, Forms & Checklists) or Employee Feedback tab depending on the kind of research you want to perform.
Step 3: Click on the Add project button and choose Custom project or Template project.
Step 4: Type in a name for your project (2) and click on the Add button (3).

After you created the project it will be shown on your data collection page.
Your new project tile will now be visible.

From your project you can access your questionnaire or your scheduler page by clicking on the questionnaire (4) or the collect feedback (5) button.
After creating a project a database will be automatically created which allows you to access all data. You can view the data directly in the data view or export it to a file.
For more detail see our article on how to create a new project.
Creating a questionnaire
After you have created a project you can access the questionnaire.
Start creating your questionnaire by going to Data collection and select the tab were you created your project.
Click on the questionnaire button (4) to open the questionnaire builder.
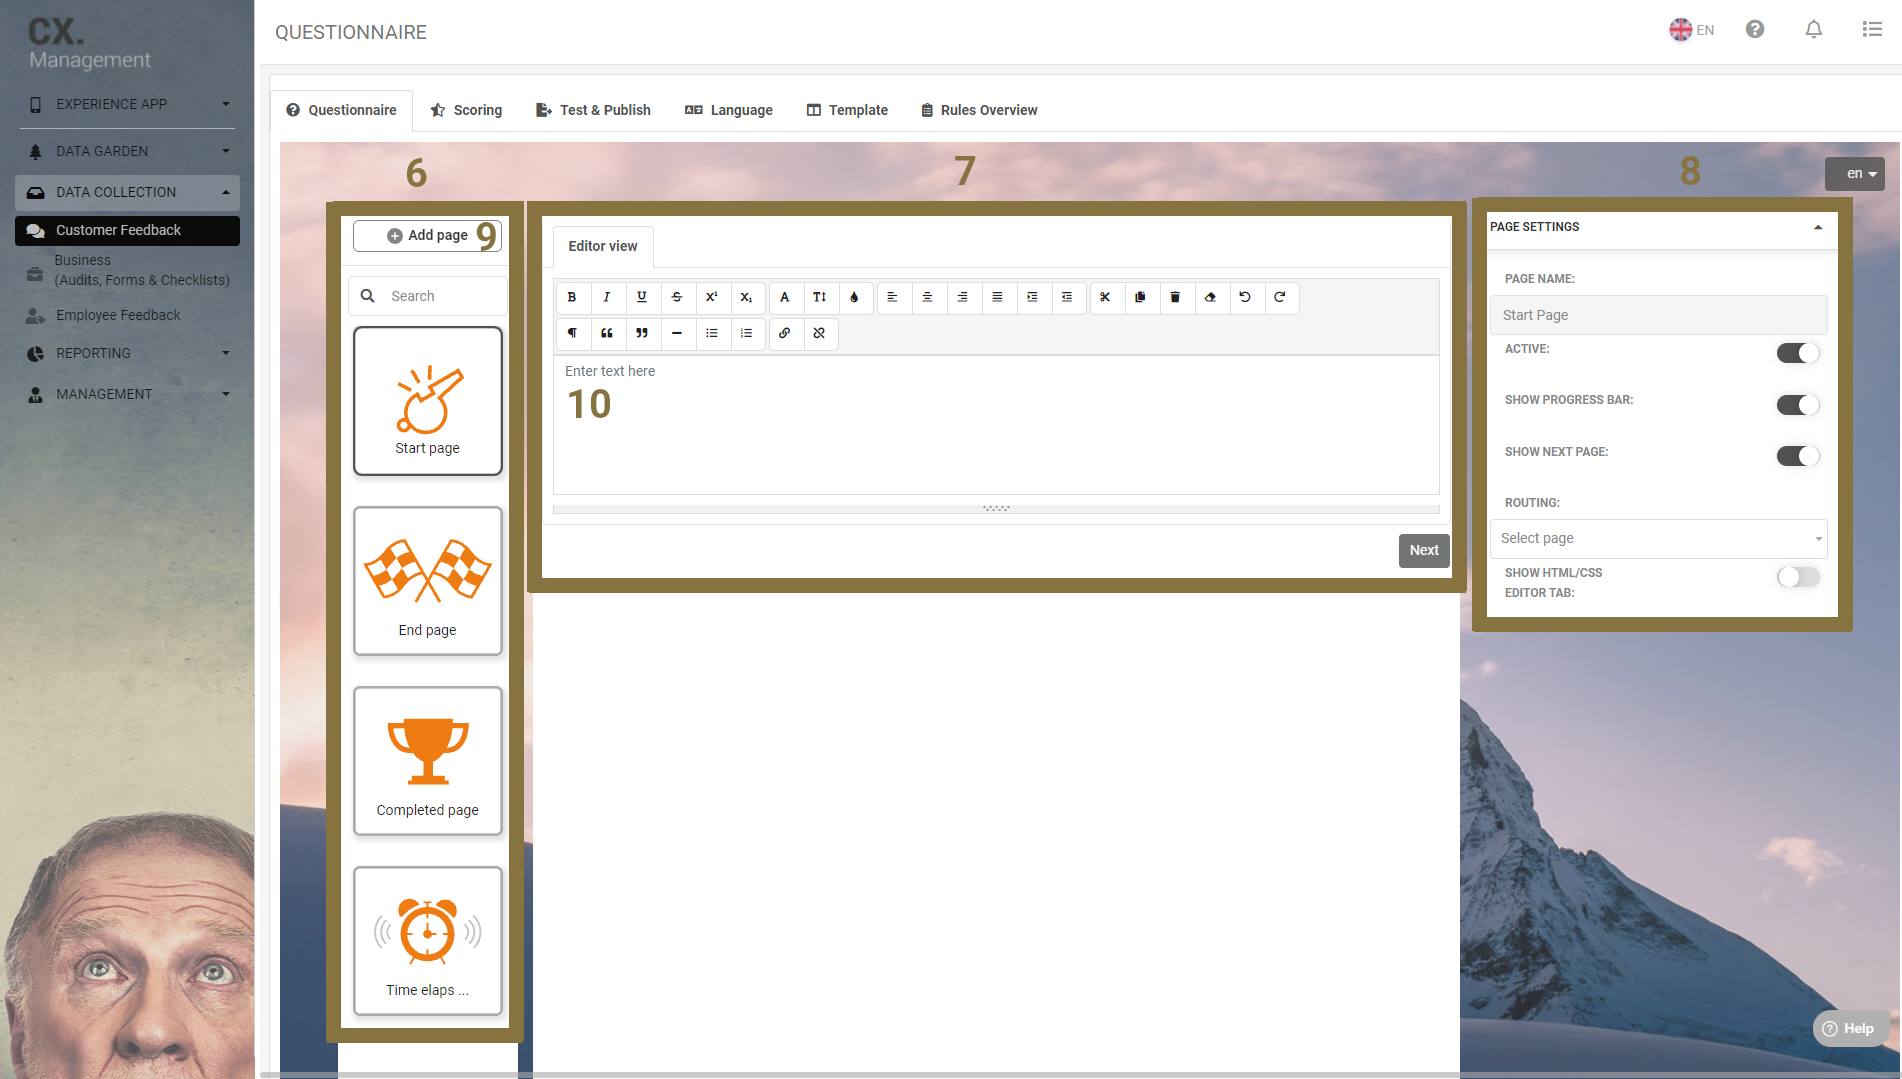
There are 3 main sections.
(6) Page selection where you can select de page you want to edit.
(7) Editor view where you can edit the page you selected.
(8) Page settings where you can edit the settings to change the behavior of your questionnaire pages.
Add content to your page by adding text and pictures (10).
The first time you open your questionnaire there are 4 pages which are created automatically.
The start page is the first page your respondent sees after opening the questionnaire.
The end page is the last page your respondent sees after finishing all question pages.
The completed page is used to inform your respondent they can not re-take the same questionnaire.
The time elapsed page is used to inform your respondent that the questionnaire is not accessible anymore because of a limited time period it can be taken after receiving the invite.
These pages cannot be deleted as they are mandatory for the questionnaire to function.
To add questions you need to add question pages by following the next steps.
Step 1: Click on the Add page button (9) to open the selection window.
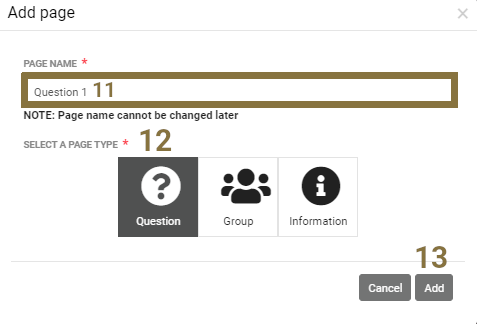
Step 2: Choose a page name (11) which you can easily identify.
Step 3: Select Question (12) as the page type.
Step 4: Click on the add button (13) to open the question type window.
You can group questions together by adding groups or add information pages to your questionnaire.
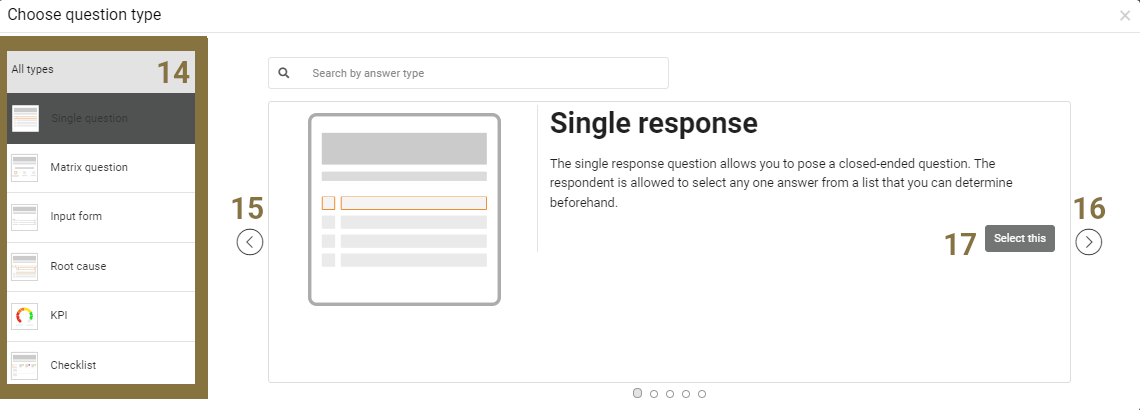
You can select a question type (14) and click on the arrows (15) (16) to find the required question.
Step 5: Click on Select this (17) to add the question to your pages.
A question page now has been added to your questionnaire (18).

Step 6: Edit your question (19) by adding a question and answer text.
You're questionnaire will be automatically saved or you can save it manually clicking on the Update button (20).
You can repeat the steps to add questions, pages and groups until your questionnaire is ready
If your questionnaire is ready it needs to be published. See our articles on how to test and publish your
questionnaire.
If you need more information on building your questionnaire please see the articles in our questionnaire section.