Adding your corporate identity to the look and feel to your questionnaire helps to personalize the questionnaire.
Your respondent gets to see your logo's and texts to which will significantly increase your respons because it will feel more trusted. This article explains how to add images to your questionnaire.
Table of contents:
General
To add images to your questionnaire you have to go to your questionnaire builder.
- Open your portal and click on the menu item Data Collection
- Choose the submenu item where your project is located (Customer Feedback, Business or Employee Feedback)
- Click on the Questionnaire button of the project widget
Your questionnaire editor will now open.

Adding images to your questionnaire
Adding images to your questionnaire can be done in two ways.
You have to possibility to upload images to our media library or you can use a field picker with an image location you can link to.
Best practices: It's possible to use image links hosted on other server but the loading speed of images in the questionnaire is optimized by adding them to the media library. This will prevent long loading times of the images in your questionnaire.
Please see our article on how to upload images to the media library
The system pages are pages that are mandatory for the questionnaires to work.
They can be edited in the editor view of the questionnaire builder.
Some HTML knowledge is required to add a picture to a systempage.
- Click the HTML/CSS editor tab (1) in the questionnaire builder. If the HTML/CSS editor tab is not visible you can active it in Page Settings (2) on the right-hand side of your screen.

- Add the image HTML code with the location URL of your image in the Medialibrary
For example
<img src="https://images.cx.management/cys/cx-header-4.jpg" class="imageStyle">
- Click on Editor view again to view the image

On the website W3schools you have a lot of HTML examples on how to format your page in HTML
See our article on how to implement HTML templates to create one style for all your pages
If you want to replace an image in your questionnaire please see our article on how to for more information
Adding images to question pages
The questionnaire pages have an easy way to add images to them.
- Click on the image placeholder (1) to open the selection window
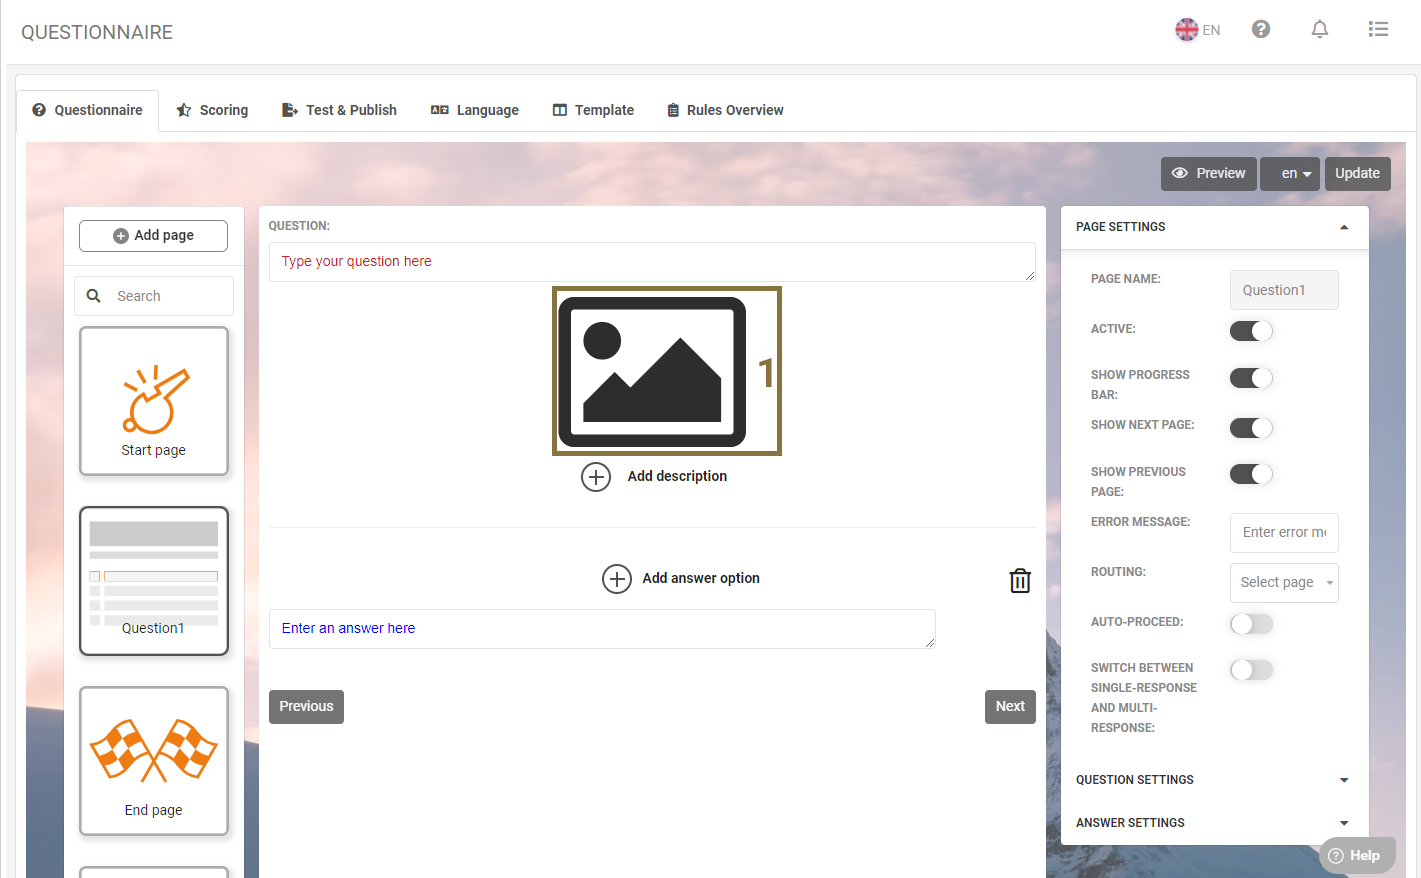
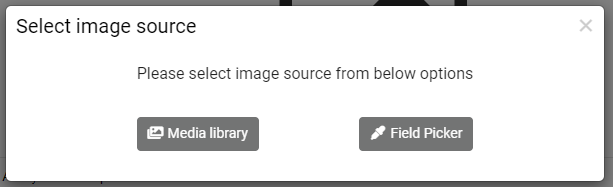
The image selection window will open to which you can select your image source
Click on Media Library to upload an image straight from your media library
Click on Field Picker to select the column where you stored your image location
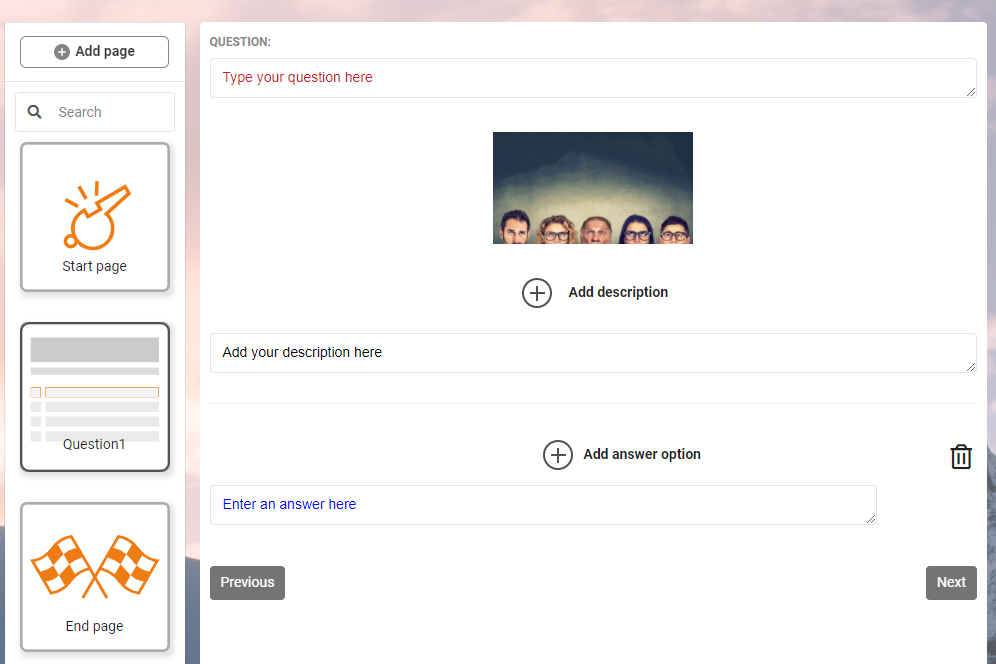
After you have chosen your image you will either see the picture on your question page or the name the column you've selected with the image location.
For more information on background images see our portal customization article and we also have a selection of background images you can find in our article here