When creating your portal, CYS has put a number of projects and schedulers in place for you with some template html layouts. The textual content can easily be changed in the Editor Tab view of these pages. However if you would like to just change the image to one that is more in line with your company house style, this can be changed in just a few easy steps as described below.
If you would like to know more about implementing and/or editing html pages in general, please check out this article.
Table of contents:
Uploading the image
First, go to the Media Library in the Management section of your portal. Here you can upload the image you want to use in your HTML layout and make sure you put the image in the Public folder.
If you would like to learn more about the use and structure of the Media Library, please have a look at this article.
Copying the source of the image
After you have uploaded the image, you can press the pen icon in the "Action column" behind the image to copy the source of the image. When pasted, this will display as a https-location.
Determining the location
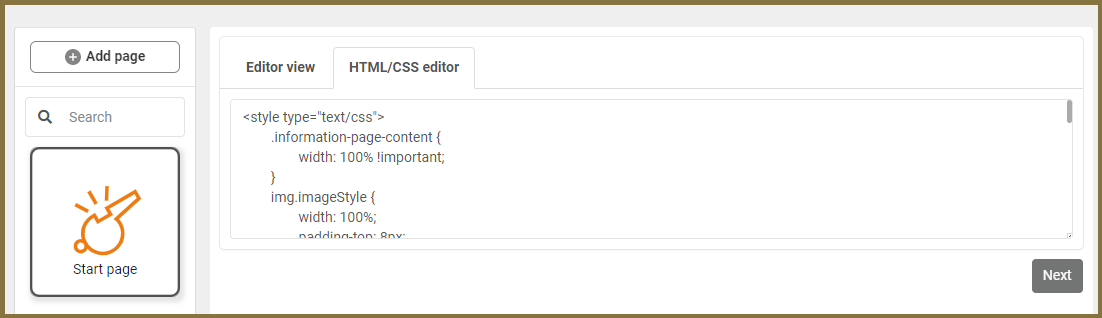
Next, go to the relevant questionnaire or scheduler and go to the HTML page of which you would like to change the image. Click on the tab marked HTML/CSS code to change to a coded view of the page.
Replacing the coden
Having opened the HTML/CSS code tab, you need to scroll down until you reach the following part:
<!-- /// --- start of image block --- \\\ -->
<table border="0" cellpadding="0" cellspacing="0" align="center" style="width: 100%; background-color: #fff;">
<tbody>
<tr>
<td style="padding: 20px 20px 0; text-align: center;">
<img width="250" src="https://cys02weuportalprod.blob.core.windows.net/globalcontainer/cx.images/cx-header-4.jpg" style="display: block; margin: auto;">
</td>
</tr>
</tbody>
</table>
<!-- \\\ --- end of image block --- /// -->
Replace the highlighted text with the link you just copied from your media library, and make sure to leave the " " in place.
Switch back to the Editor Tab to see the impact.
Testing
If your HTML page is part of a questionnaire you can test the looks by going to the tab "Test & Publish" and putting the questionnaire to "test mode". Click on the test link to preview the questionnaire from a respondent's perspective.
Please note that Time elapsed page and Completed page are not pages that automatically show in the test link. The Endpage, however can serve as a proper reference, since the styling of the page is the same.
If you would like to know more about putting a questionnaire into test mode, please have a look at this article.
If your HTML page is part of an email scheduler, you can send a test email to yourself by pressing the corresponding button. You will receive an email, in the same way a respondent would.
Please note that this button is available for the mail tab, not for the reminder tab. You can use the mail tab as a proper reference, since the styling of the email is the same.
If you would like to know more about sending a test email to yourself, please have a look at this article.